
Day 5 of healthy alternative Halloween candy week. So far we’ve hacked the food-like product ingredient recipes of the Crunch Bar, Almond Joy, Reese’s Peanut Butter Cup, and Butterfinger, and recreated healthy alternatives using 100% real food ingredients.
Today we’re going to ingredient hack the Twix Bar, one of my childhood favorites.
The Twix bar we all know has 26+ ingredients, most all being of a food-like product nature. Processed sugar, corn syrup, soy-based products (soy lecithin), artificial flavors, wheat flour, synthetic vitamins, genetically modified ingredients, and more. You can review the ingredients label here.
This Twix bar recipe remix is paleo & vegan-friendly, dairy free and gluten free.
Chocolate Ingredients:
1/2 cup melted cacao butter
1/4 cup melted coconut oil
3/4 cup cacao powder
2 tablespoons maple butter
1 tablespoon coconut milk
1/2 teaspoon vanilla
1/8 teaspoon pink salt
Cookie base layer ingredients:
1 cup almond flour
1 cup hazelnut flour
2 tablespoons maple butter (can use honey too)
2 teaspoon vanilla extract
2 tablespoon coconut oil, melted
2 tablespoon coconut milk
1/8 teaspoon pink salt
Caramel ingredients:
8 medjool dates, soaked
1/3 cup almond flour
1-2 tablespoons maple butter
1 teaspoon vanilla
2 tablespoons coconut oil, soft or melted
1 tablespoon coconut milk
1/8 teaspoon pink salt (up to 1/4 if you like salty caramel)
Note: I mention 1-2 tablespoons maple butter…taste it to your liking. Dates are sweet. Maple butter is sweet. At 1 tablespoon it was sweet to me, at two it was borderline if I put another drop in a little too sweet for my palate. I recommend 1 tablespoon first, and then just taste it after it’s all blended. If it needs more, add and blend in.
Directions:
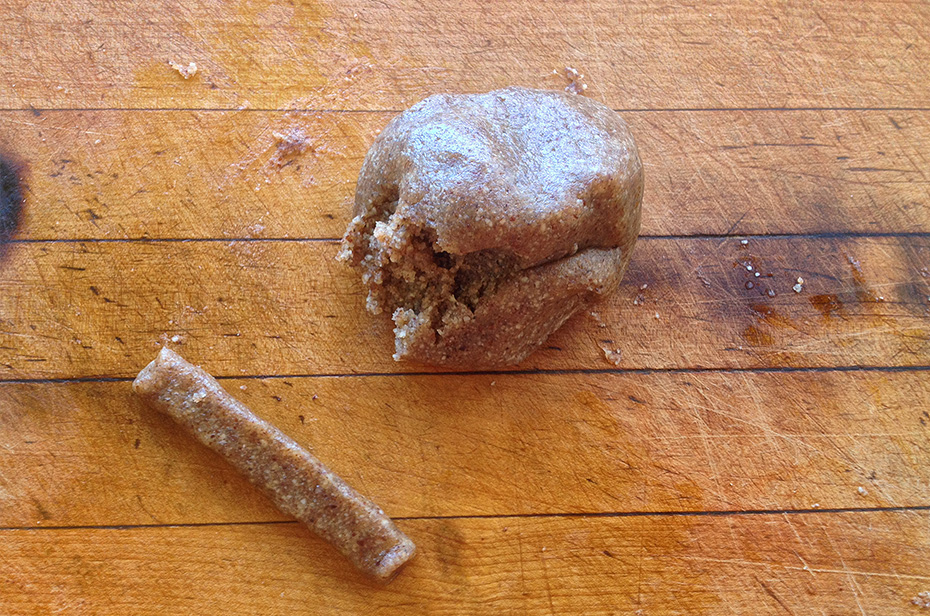
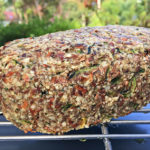
1. Add all your cookie base ingredients to a blender and blend well. I have a 60 second auto-off timer on mine. I probably blended four or five times, scraping the sides each time or ever stopping it between each cycle at 15-30 seconds to scrape the sides. In other words, blend well! You should end up with a ball of awesome like the picture just above
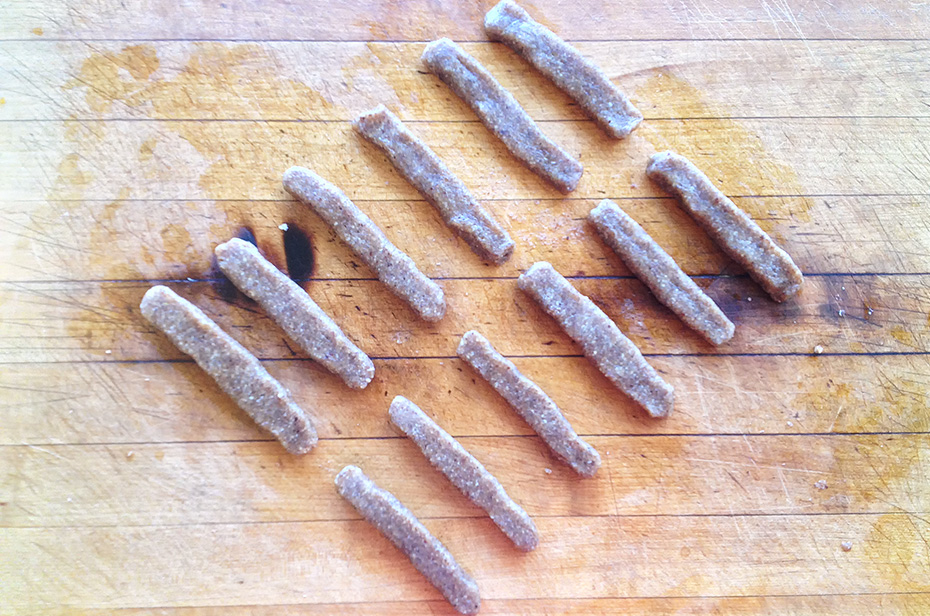
2. Once you’ve got your ball of cookie base, pinch a little piece off (1 tablespoon-ish) and roll with your hands and make roughly 3″ long pieces (pictured above & below). I was able to make 12.
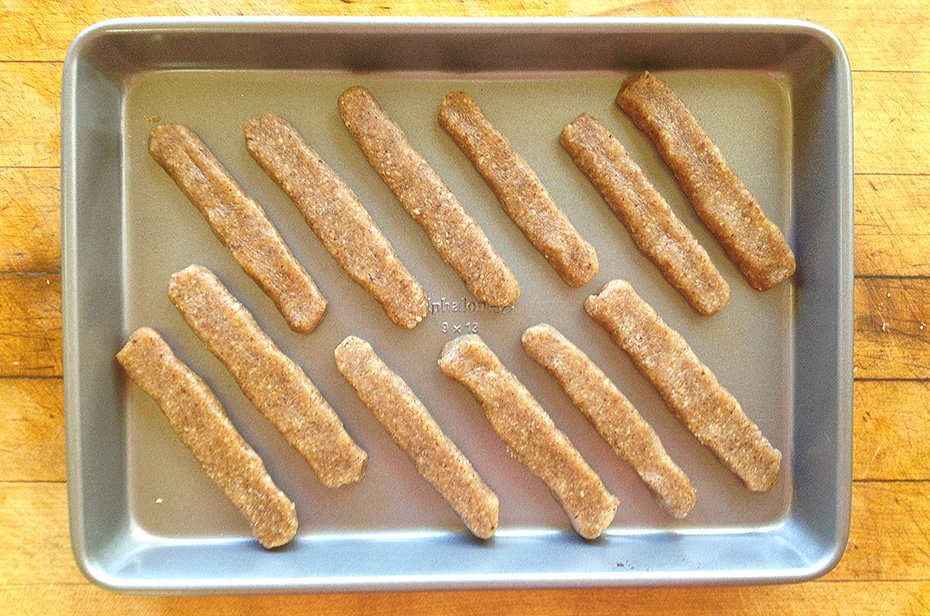
3. Next, add your based layer pieces to any pan that fits them and place in the freezer. You can add a little melted coconut oil (wiped around with a paper towel) to the bottom of the pan before you add them.
4. While the base layer is in the freezer, now you can start your caramel.
5. First, if you’ve got dried medjool dates, soak them for about 20 minutes in water. This loosens them up.
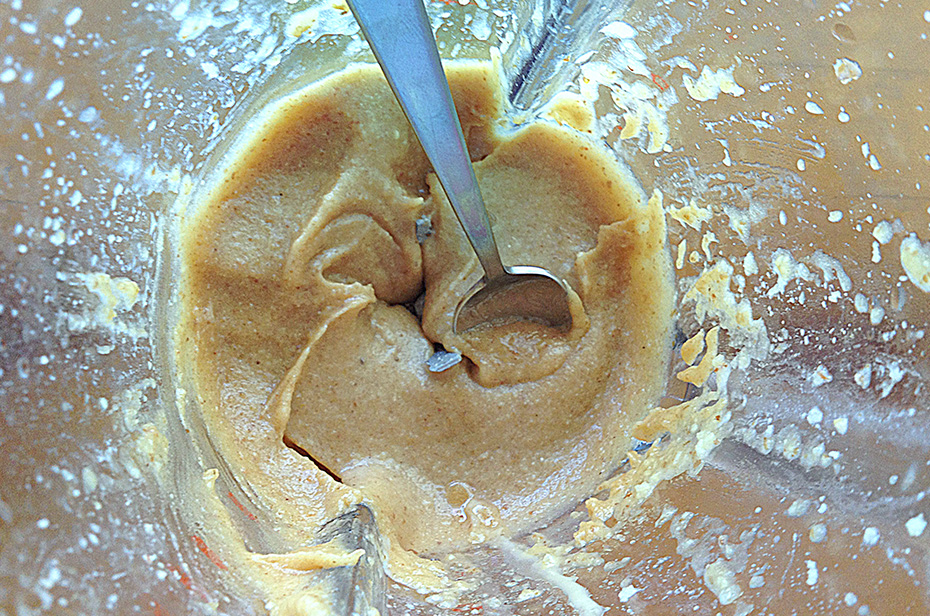
6. Add all your caramel ingredients to the blender and blend. Again, blend well! I think I blended five or six 60-second blending cycles on mine.. you’ll notice by 4th or 5th it really becomes creamy / caramel-y like the picture just above.
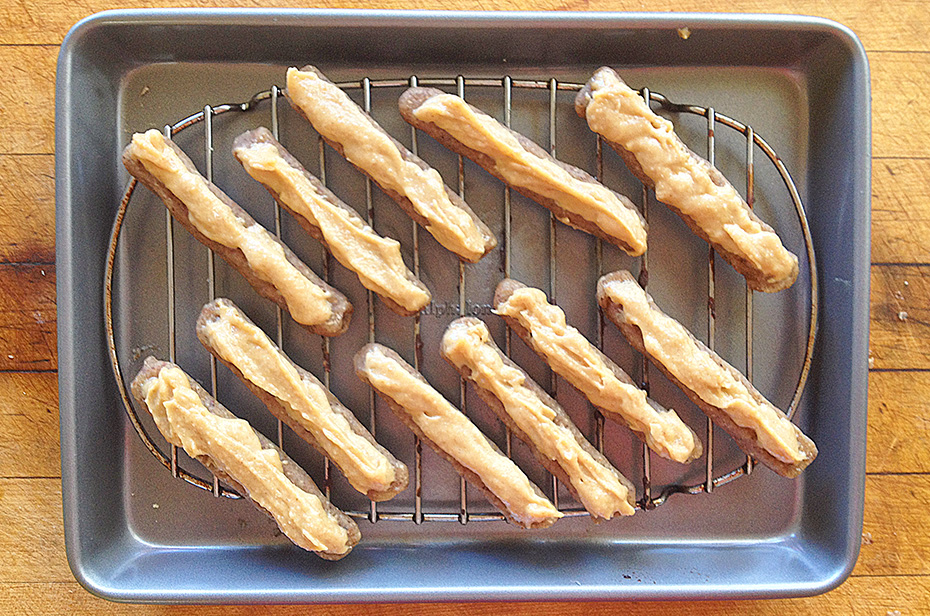
7. After you’ve got your caramel done, pull the cookie base layer out of the freezer and begin to spoon your caramel on it. No exact science, just a nice layer like pictured above and below. You’ll see in the picture above I added my rack I always use… that’s because we’ll be adding the chocolate sauce soon.

8. After your caramel sauce is added to each cookie base layer, put them back in the freezer. Now we’ll start the chocolate sauce.
9. The chocolate sauce ingredients for all these candies we’ve been doing all week is the same:
Start by melting your cacao butter and coconut oil in a sauce pan.
When doing this only melt it on lowest heat. I even recommend having the sauce pan barely on the burner, as well as taking it off the burner and letting it slowly melt as the pan heats up. We want to keep the nutrient contents intact as much as possible and raw cacao butter begins to melt between 95-100 degrees (that’s why chocolate melts in our mouth).
After your cacao butter and coconut oil is melted, add all your other ingredients off of the heat and whisk together until all incorporated.
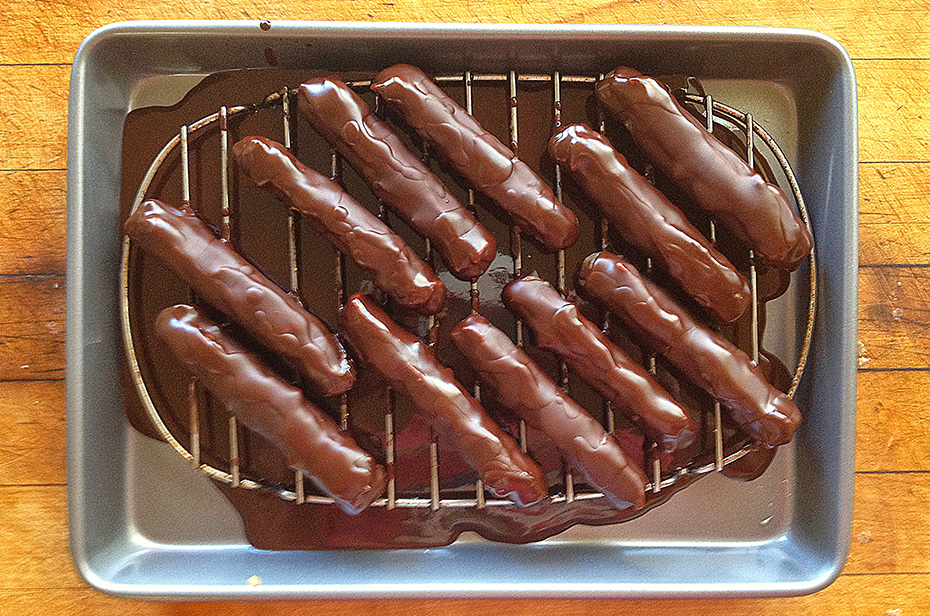
10. Once your chocolate sauce is done, you can either spoon, dip or pour the sauce from the sauce pan over the Twix. That’s how I did it to save some time, see pictured above and below.
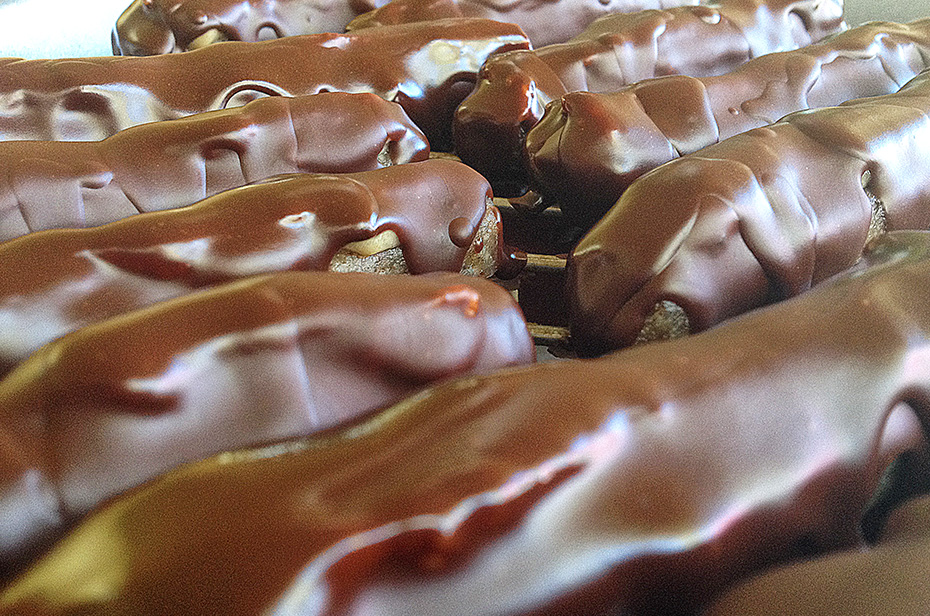
11. Once you’ve got your twix coated to your liking, place back in the freezer and let them set up for a good 12-24 hours. You can eat one like I did about an hour later to taste it, but I notice the next day they were more set.
That’s it! I keep them stored in the freezer and usually pull one out and let it sit for a couple minutes before devouring!
And remember, just because these are healthier 100% real food alternatives to the chemical food-like product concoctions… this still is candy. So as always, my recommendation is to enjoy in moderation and stick to your metabolic type ratios and an 80/20 lifestyle for your most optimal health. Personally, I keep candies like this for Reward Day, which for me is Friday evening to Saturday evening when I would enjoy one.
Enjoy!


Bravo! This just went on my to-do list this weekend lol
Cool! let me know how they turn out Heather
Gaaaaa I love all these candies you’ve done all week I can’t decide which one I want to make haha
Well doesn’t that mean you just have to make a few of them? 😉
heavinly! these are my favorite
Great Drea, enjoy them!
Well done sir
Thanks Ryan
I’m so glad I found your blog! These look incredible!!!!
Thanks Kayla, glad you found me!
Hi! I really want to make these and the other candies but I can’t get ahold of maple butter and I was wondering if there is something else I can use to replace it with? Like maybe dates mixed with almond butter or something?
Melissa
Hey Melissa, you can get maple butter on amazon.com.. also, I link all the ingredients/brands in the ingredients list so people know what I personally use (every link is the exact stuff I used). That said, you can try pure organic maple syrup as closest thing… or could try honey or coconut nectar, however, I did test that and it wasn’t the same. The maple butter really made these candy recipes. Hope this helps, cheers